
How to Choose the Right Glass Shower Screens for Your Bathroom Renovation
- 14 hours ago
- 5 min read
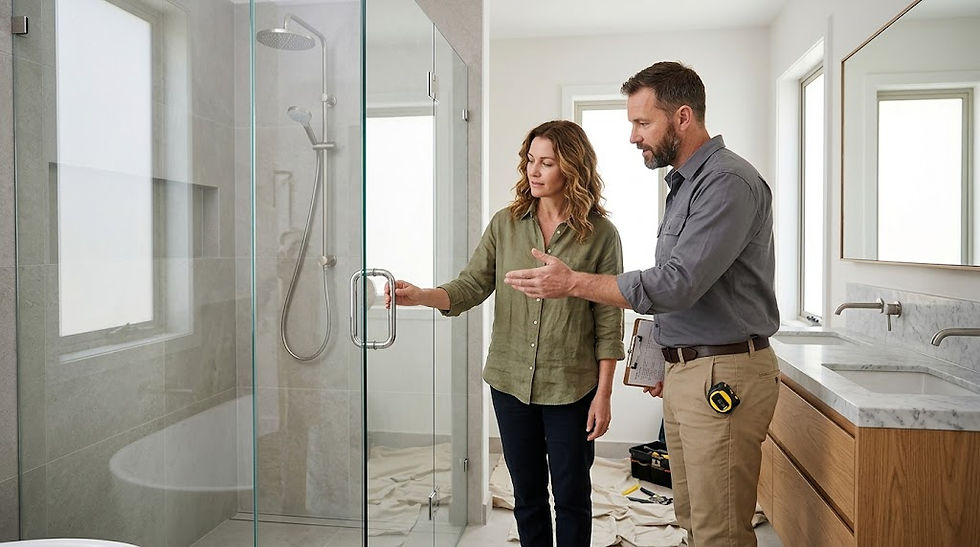
A shower screen affects more than the appearance of a renovated bathroom. It influences access, splash control, cleaning and how comfortably the enclosure fits around nearby fixtures.
For this reason, selection should begin with the bathroom layout rather than the frame colour or hardware finish. The shower opening, door clearance, showerhead position and finished wall dimensions all need to be considered before choosing between framed, semi-framed and frameless designs.
When comparing glass shower screens, focus first on how the enclosure will function in everyday use. Once the practical requirements are resolved, you can select the glass, framing and finishes that suit the bathroom design.
Start With the Finished Bathroom Layout
Measure the finished shower opening and check the position of the vanity, toilet, bath, towel rails and bathroom entry door. These details determine which door arrangements are practical.
A pivot or hinged door requires enough clearance to open without striking another fixture. This can work well in a larger bathroom, but the swing path needs careful planning in a compact ensuite. A sliding door operates within the width of the enclosure, making it useful where outward clearance is limited.
Do not rely only on the dimensions shown in the original renovation plan. Tile thickness, wall alignment and changes made during construction can affect the final opening. Measuring after the relevant surfaces are complete helps ensure the glass and hardware are manufactured for the actual space.
The shower entry should also provide comfortable access without narrowing the main walkway. A configuration may fit technically but still feel awkward if it conflicts with another door or leaves too little room to move.
Compare Framed, Semi-Framed and Frameless Screens
Betta offers fully framed, semi-framed and frameless shower screen options, with each style using a different balance of glass, aluminium framing and fittings.
Fully framed screens use aluminium around the glass panels and door. The frame provides continuous support and creates a clearly defined enclosure. These designs can include pivot or sliding doors and suit bathrooms where durability and practical water containment are priorities.
Semi-framed screens reduce the amount of visible aluminium while retaining framing around selected parts of the enclosure. They can provide a lighter appearance than a fully framed screen without relying entirely on discrete brackets and hinges.
Frameless screens use toughened glass with minimal visible framing. They help maintain uninterrupted sightlines, which can keep feature tiles visible and make a compact bathroom feel less divided.
The best option is not always the design with the least framing. Compare door operation, panel dimensions, water containment, cleaning access and hardware requirements before deciding.
Choose a Practical Door Style
Door operation is one of the most important decisions. A hinged or pivot door provides a direct opening but needs space to swing. The handle must also remain clear of tapware, towel rails and the bathroom door.
Sliding doors do not require an external swing area, making them well suited to narrow bathrooms or showers positioned close to a vanity or toilet. However, tracks, overlapping panels and rollers should be considered when comparing cleaning and future maintenance.
Small details such as handle reach, opening direction and entry width can have a noticeable effect on everyday convenience.
Plan for Splash Control
A shower screen helps control normal splash, but its performance depends on more than the height of the glass. Showerhead direction, fixed-panel width, door position and floor layout all influence where water travels.
Avoid placing an open section directly in the path of the shower spray. If the showerhead points towards the entry, water has a clearer route onto the surrounding floor. A wider fixed panel or different door position may improve containment.
Also consider what happens when a hinged door opens after use. Water remaining on the inside of the glass may drip outside the enclosure. Seals, overlapping panels and door direction can help manage this.
The screen does not replace correct wet-area construction. It helps contain everyday spray, while the shower floor, wall junctions, penetrations, waterproofing and drainage perform separate functions.
Confirm Safety Glass and Installation Requirements
Shower screen glass is installed where accidental human impact can occur, so its selection and installation must comply with relevant Australian requirements.
Standards Australia lists AS 1288:2021, Glass in buildings: Selection and installation, as the current standard covering glass selection and installation in relation to matters including human impact.
The NCC Housing Provisions also set requirements for bathroom and shower-enclosure glazing. They require appropriate safety glazing and include conditions relating to glass type, thickness, panel area and exposed edges. For panels or doors with an exposed edge, the NCC specifies toughened safety glass with a minimum nominal thickness of 6 mm, subject to the applicable pane-size and configuration requirements.
Glass thickness should therefore not be selected as a style preference alone. Panel dimensions, exposed edges, support, hinges, brackets and the overall enclosure design all affect the appropriate specification.
Ask the supplier or installer to confirm the safety glass type, thickness and hardware requirements for the proposed configuration. Professional measurement also helps ensure the screen aligns correctly with the finished opening.
Consider Cleaning and Maintenance
Every shower screen requires regular cleaning, but the areas that collect residue vary by design.
Fully framed and sliding screens contain more tracks, channels and junctions where soap residue and mineral deposits can build up. Frameless screens reduce continuous framing, but hinges, brackets, seals and glass edges still need attention.
Check whether the areas around the door and fixed panels are easy to reach. It is also useful to ask whether serviceable parts such as seals, rollers and handles can be replaced over time.
Clear glass keeps tiles visible and creates an open appearance, but it can show water spots readily. Textured or tinted glass may provide greater visual separation where available. Choose according to privacy, light and maintenance needs rather than appearance alone.
Coordinate the Screen With the Renovation
The shower screen should be planned alongside the tiles, shower fittings and bathroom fixtures, even if final measurement happens later.
Confirm the showerhead position before deciding on fixed-panel width and door placement. Check that wall-mounted fittings will not interfere with channels, hinges or brackets. If the screen sits beside a bath, nib wall or tiled ledge, the glass arrangement must account for the finished height and alignment.
Hardware finishes can then be coordinated with tapware and other bathroom details. Communication between the renovator, tiler and installer is important because resolving dimensions before manufacture is easier than altering a completed bathroom.
Choose a Screen That Works Every Day
The most suitable shower screen is one that fits the completed opening, provides comfortable access and supports normal splash control without making the bathroom harder to use.
Begin with accurate measurements and available door clearance. Compare framed, semi-framed and frameless options according to configuration, cleaning requirements and visual effect. Confirm that the glass and hardware are suitable for the panel dimensions and meet the relevant Australian safety requirements.
Once those decisions are made, choose the glass appearance and hardware finish that complement the renovation. This order produces an enclosure that looks considered, operates comfortably and remains practical long after installation.


