
How to Pack a Kitchen for a Residential Move: Glassware, Dishes, Small Appliances, and Pantry Items
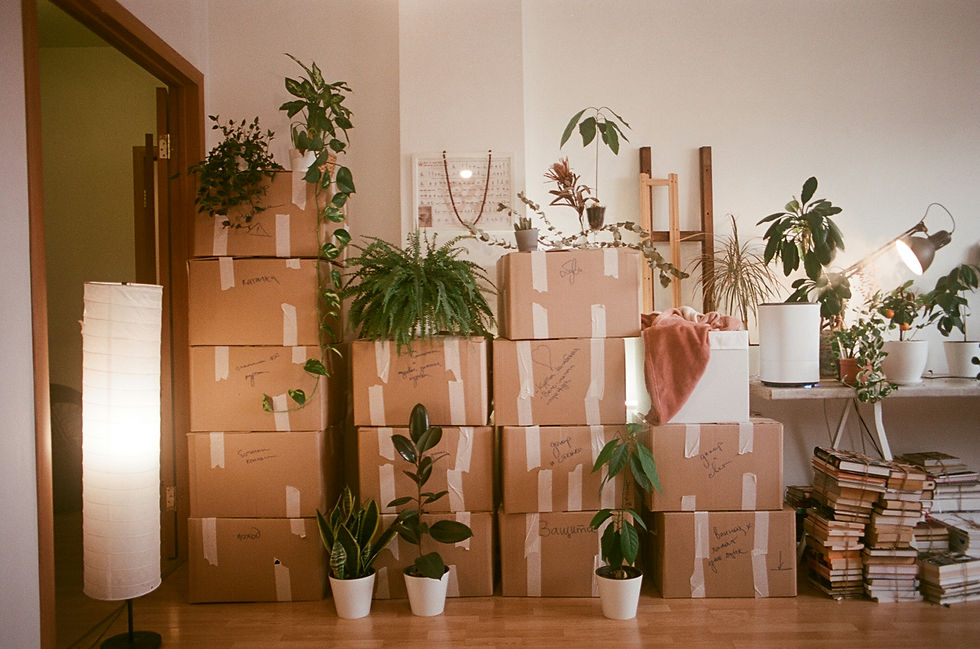
The kitchen is almost always the hardest room to pack for any move. Between fragile glassware, stacks of dishes, bulky small appliances, and a pantry full of odd-shaped containers, it takes more strategy than tossing items into a box and hoping for the best. Whether you are moving across town or handling a residential move in Oklahoma City, OK, with a full-service crew, a little planning up front will save you from cracked plates, spilled spices, and hours of frustration on the other end.
This guide walks through exactly how to pack each major kitchen category so everything arrives intact and unpacking is simple.
Start With a Plan and the Right Supplies
Before you pack a single item, gather the right materials. Using the wrong boxes or skipping padding is the number one reason kitchen items break in transit.
You will want:
Small and medium boxes for heavy items like dishes and canned goods
Large boxes for lightweight, bulky items like pots or mixing bowls
Dish barrel boxes or cell dividers for glassware and stemware
Packing paper (unprinted newsprint works best so ink does not transfer)
Bubble wrap for extra-fragile or valuable pieces
Packing tape and a tape gun
Permanent markers for labeling
Plastic wrap for sealing lids and preventing spills
A common mistake is using boxes that are too large for heavy items. A box full of dinner plates can become too heavy to lift safely, and the bottom may give out. Keep heavy items in small boxes and reserve large boxes for lighter, bulkier things like plastic containers or cereal boxes.
Packing Glassware Without the Breaks
Glassware is the most breakage-prone category in the kitchen, so it deserves the most attention.
Start by wrapping each glass individually in packing paper, working from a corner so you create a twist at the top that tucks in and holds the wrapping in place. For stemware or particularly delicate pieces, add a layer of bubble wrap around the wrapped glass for extra cushioning.
Pack glasses upright in a box, never on their sides, and always place them into a dish barrel with cell dividers if you have one available. Cell dividers keep each glass separated so they cannot knock into each other during transport.
Line the bottom of the box with at least two inches of crumpled packing paper before adding any glasses. Fill any gaps between glasses with more paper so nothing shifts once the box is sealed. Top the box off with another thick layer of padding before closing it.
Label these boxes clearly as fragile and mark which side should face up. If you are working with a moving company for a residential moving in Oklahoma City, OK, job, let the crew know which boxes contain glassware so they can prioritize careful handling and proper placement in the truck.
Packing Dishes, Plates, and Bowls
Dishes require a different wrapping technique than glassware because they are packed flat rather than upright.
Wrap each plate individually in packing paper, then stack wrapped plates in small groups of four or five. Wrap the entire stack together with another layer of paper for added protection.
Pack plates on their edge, standing vertically like records in a crate, rather than stacked flat on top of one another. Plates packed on their edge distribute pressure more evenly and are far less likely to crack under the weight of items above them.
Bowls can be nested inside one another after being wrapped individually, but limit stacks to three or four bowls per nested group to avoid excess pressure on the bottom piece.
A few extra tips for dishware:
Always place a layer of crumpled paper at the bottom of the box before adding wrapped dishes
Keep boxes at a weight you can comfortably lift; dishes get heavy fast
Fill every gap with paper so nothing has room to shift
Seal boxes tightly and label them fragile with the room name
Packing Small Appliances
Small appliances like blenders, toasters, coffee makers, and stand mixers each come with their own packing challenges because of odd shapes, cords, and detachable parts.
If you still have the original box for an appliance, use it. Original packaging is designed specifically for that item's shape and weight, and it will offer better protection than a generic moving box.
If the original box is not available, follow these steps:
Remove any detachable parts such as blades, pitchers, or trays and wrap them separately
Wrap the main body of the appliance in packing paper or bubble wrap
Coil cords neatly and secure them with a twist tie or rubber band so they do not dangle or get tangled
Place the appliance in a box sized appropriately, not one that leaves excessive empty space
Fill any remaining space with packing paper or towels to prevent movement
For heavier appliances like stand mixers or air fryers, place a folded towel or extra padding at the bottom of the box for shock absorption. Label the box with the appliance name and mark it as fragile if it includes glass components like a pitcher or carafe.
Packing Pantry Items
Pantry items are often overlooked until the last minute, but they need almost as much care as glassware because of spills, leaks, and pests.
Start by sorting through your pantry and discarding anything expired, opened and partially used, or unlikely to survive the trip well. Movers typically will not transport perishable food or opened liquids, so this is a good opportunity to use up what you can before moving day.
For items you are keeping:
Seal any opened bags of dry goods like flour, sugar, rice, or pasta in resealable plastic bags or airtight containers
Tape the lids of bottles and jars containing liquids, then wrap them individually in plastic wrap or place them in resealable bags in case of leaks
Pack canned goods in small boxes since they are heavy, and lay them on their sides for a snug fit
Group spice jars together in a small box or plastic bin, wrapping each one if the lids are not fully secure
Keep boxes on the smaller side for pantry items; canned and boxed goods add up in weight quickly
Line the bottom of pantry boxes with paper or a towel in case anything leaks during transit. This simple step can save the rest of your boxes from water damage or spilled oil.
Labeling and Organizing for Easy Unpacking
A well-packed box is only half the job. Clear labeling makes unpacking dramatically easier and helps movers place boxes in the right spot.
Label every box with the room name, a general description of contents, and any handling instructions like fragile or this side up. Color-coded labels or stickers can speed up the process even further, especially if you are coordinating with a moving crew handling multiple rooms at once.
Consider numbering your boxes and keeping a simple master list of what is inside each one. This is especially helpful for kitchen boxes since contents can be hard to guess from the outside once everything is wrapped in paper.
Pack an essentials box separately from the rest of your kitchen items. Include a few plates, cups, utensils, a pan, coffee maker, and basic pantry staples so you can function in your new kitchen before the rest of the boxes are unpacked.
Loading Kitchen Boxes for the Move
How boxes are loaded into the moving truck matters just as much as how they are packed. Heavier boxes, including canned goods and dishware, should go on the bottom of stacks, with lighter boxes on top. Fragile boxes marked with glassware or appliances should never have heavy items placed on top of them, regardless of how sturdy the box appears.
If you are hiring professionals for residential moving in Oklahoma City, OK, communicate which boxes are fragile and point out any appliances with glass components before loading begins. A brief conversation with the crew can prevent avoidable damage and give you peace of mind throughout the process.
Frequently Asked Questions
How many boxes will I need to pack an average kitchen?Most kitchens require somewhere between 10 and 20 boxes depending on how much glassware, dishware, and pantry stock you have. A mix of small, medium, and dish barrel boxes usually covers everything.
Can I use towels or clothing instead of packing paper?Yes. Towels, dish rags, and soft clothing can be used as padding in a pinch and are a great way to save on packing paper while also moving your linens. Just make sure they provide enough cushioning for fragile items.
Should I pack knives with the rest of the dishware?No. Wrap knives individually in thick padding, secure them with tape, and pack them in a clearly labeled box separate from plates and glasses to avoid injury during unpacking.
What is the best way to pack a refrigerator's contents?Use up perishable food in the days leading up to the move, and pack any condiments or shelf-stable items you want to keep in a small box with sealed lids and padding to prevent leaks.
Is it safe to pack liquids like oil or vinegar?Yes, as long as the lids are tightly sealed. Wrap each bottle in plastic wrap and place it upright in a box with padding around it to catch any potential leaks.
How far in advance should I start packing the kitchen?Start at least one to two weeks before moving day. The kitchen is one of the most time-consuming rooms to pack, so giving yourself extra time reduces stress and rushed packing mistakes.
Final Thoughts
Packing a kitchen takes patience, but a methodical approach to glassware, dishes, small appliances, and pantry items makes the process far less overwhelming. Focus on proper wrapping, appropriately sized boxes, and clear labeling, and your kitchen items will arrive at your new home ready to unpack rather than needing to be swept up. With the right supplies and a little extra time built into your schedule, moving day will go far more smoothly from start to finish.


