Tired of Digital Clutter? Create a Beautiful Coffee Table Book in Minutes
- May 25
- 4 min read
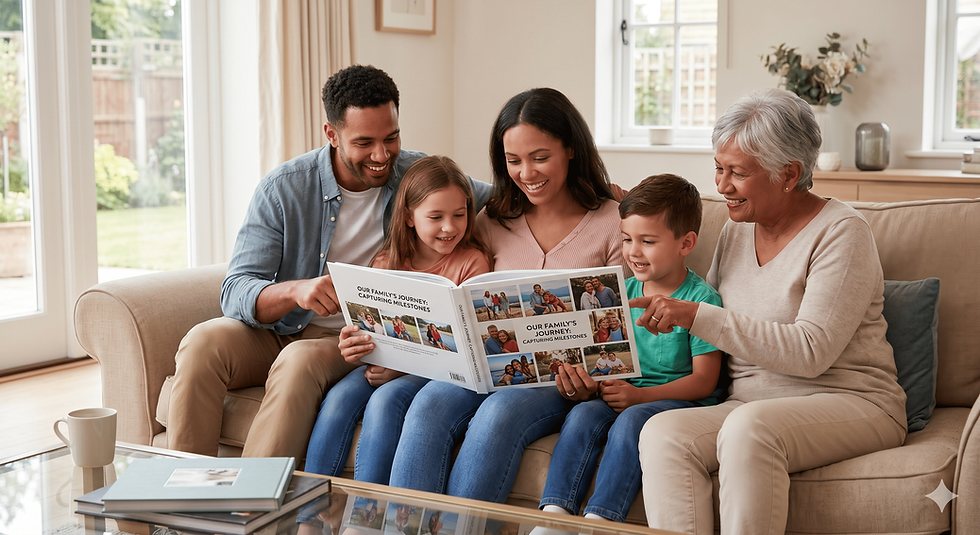
Most people have thousands of photos buried in their phones, scattered across cloud backups, and sorted into albums nobody ever opens. A coffee table book changes that dynamic entirely. Unlike a scrollable grid of images, a physical book signals intentional curation—someone chose these moments, arranged them with care, and gave them a permanent home. It invites guests to linger, sparks real conversation, and keeps memories genuinely within reach. This guide walks through a realistic, step-by-step process for turning digital clutter into a polished coffee table book, no design experience required.
From Camera Roll Chaos to Tangible Beauty
Why a Coffee Table Book Beats Endless Scrolling
Digital archives are democratic but exhausting. Duplicates, screenshots, and "almost" shots compete endlessly with your best work. A coffee table book imposes healthy constraints: costly digital noise is replaced by typically 60–150 carefully selected images that tell one coherent story. Fortunately, creating custom photo books online has made it incredibly simple to curate these collections without technical hassle. Cognitive psychology research consistently shows that physical objects serve as stronger memory anchors than passive screen viewing, and studies referenced by the APA suggest printed images are recalled more vividly than those seen on a screen. The result is less decision fatigue and more meaningful engagement with the memories that actually matter.
Choose a Clear Theme
A strong theme is what separates a beautiful book from a confusing one. Common approaches include a single trip, a family milestone, a creative hobby, or a year-in-review. A useful test: if a guest flipped through this book in five minutes, what one feeling or story should they walk away with? Resist the urge to document everything. Five years of travel photos work far better as one book per destination than one chaotic volume trying to hold it all.
Quickly Curate Your Best Images
Efficient curation happens in fast passes. In the first, eliminate obvious rejects—blurry shots, closed eyes, near-duplicates. In the second, keep only photos that genuinely support your theme. In the third, refine for variety: wide establishing shots, close-ups, candid faces, telling details. For an 80–120 page book, aim for roughly 80–200 final images. A professional editor's instinct applies here: ask of every photo, does this add something new to the story? Overcrowded pages are a far more common regret than leaving a few images out.
Plan a Simple Story Flow
Even a minimal structure dramatically improves the reading experience. Chronological order suits travel and milestone books naturally. Thematic sections—"Arrival," "People," "Small Details"—work well for projects organized around feeling rather than time. A practical outline might include an opening spread, three to five main sections of ten to twenty pages each, and a closing image or short reflection. This mirrors the approach writing coaches recommend: sort your content into logical groupings before you start designing.
Design Basics That Look Professional
A few core principles do most of the heavy lifting. Use consistent margins, limit yourself to one or two fonts, and let strong images breathe rather than filling every inch of the page. Mix full-bleed spreads with multi-image layouts for visual rhythm. Keep your editing consistent throughout—jarring filter shifts can undermine an otherwise polished feel. One practical tip worth remembering: screens are backlit, print is not. Brighten images slightly before finalizing to avoid prints appearing darker than they looked on your monitor.
Adding Words Thoughtfully
Short, specific text adds warmth without overwhelming the visuals. Evocative section titles—"Mornings in Lisbon" rather than "Portugal Trip"—hint at mood instead of logistics. Captions work best kept to one or two lines: a name, a place, a specific memory. Write as if you're describing the photo to a friend sitting next to you on the couch.
Choose the Right Format, Size, and Paper
Hardcover bindings give coffee table books their display-worthy presence. Larger formats—around 8.5" × 11" or bigger—showcase landscapes and group shots most effectively. For paper, semi-matte or lustre finishes reduce glare while keeping colors vivid, a preference consistently noted across book-design resources. Always order a proof copy before printing multiples; check color accuracy, spine thickness, and how images fall across the gutter on double-page spreads.
Turning Your Layout into a Finished Book
Once your curated folder and rough section order are ready, the actual design process moves quickly. Today's tools for creating photo books online offer drag-and-drop interfaces, pre-made templates, and automatic page flow—making the whole thing accessible even for first-timers. Upload your photo folder, select a template that fits your theme, then adjust cropping, swap layouts, and add captions as needed. The critical preparation—curating and organizing before you open any tool—is what makes this stage genuinely fast. Always review the full preview before placing your order: zoom into images, confirm every caption, and check how pages fall across the spread.
Real-Life Ideas to Start This Week
"Our Home City" — favorite local spots and hidden corners
"The First Year" — a baby's milestones and everyday moments
"Before and After" — a renovation, garden, or creative project
"Family Histories" — digitized older prints combined with relatives' stories
Pick the simplest idea that genuinely excites you, not the grandest one.
Bringing It All Together
The path from a chaotic camera roll to a book worth displaying is shorter than most people expect: choose a focused theme, curate with a ruthless editor's eye, build a simple narrative flow, apply a handful of design principles, and use accessible tools to bring it to life. The result is less digital overwhelm and a physical object that earns its place on the coffee table. Block out one evening this week to pick a theme and pull together your first round of photos. Imagine a guest picking up the finished book and asking, "Tell me about this." That conversation starts with starting—imperfectly, immediately.