How to Check If Your Window Replacement Was Done Correctly
- Sep 26, 2025
- 6 min read
Getting new windows is exciting. They can make your home more comfortable, save money on energy bills, and look great. But how do you know if your window installer did a good job? Sometimes problems don't show up right away.
Learning to check your windows yourself can help you catch issues early and make sure you got what you paid for.
Window installation is more than just putting glass in a hole. It involves careful measuring, proper sealing, and making sure everything fits perfectly. According to the National Association of Home Builders, poorly installed windows are one of the top causes of energy loss in homes.
Whether you're dealing with standard window replacements or specialized installations like window well cover replacement Fort Collins projects, the same careful inspection principles apply to ensure quality work.
The good news is that you don't need special tools or training to spot most installation problems. This guide will teach you what to look for and how to check your new windows step by step.
Why Proper Window Installation Matters
Windows do much more than let light into your home. They protect you from weather, help control temperature, and keep out noise and bugs.
The U.S. Department of Energy states that windows account for 25% to 30% of residential heating and cooling energy use. When windows aren't installed correctly, you might face:
Higher energy bills from air leaks
Water damage from poor sealing
Difficult operation or windows that stick
Shortened window lifespan
Safety problems with locks or opening mechanisms
Visual Inspection: What to Look For
Start by taking a close look at your new windows. Good installation should be neat and professional-looking.
Check the Window Frame
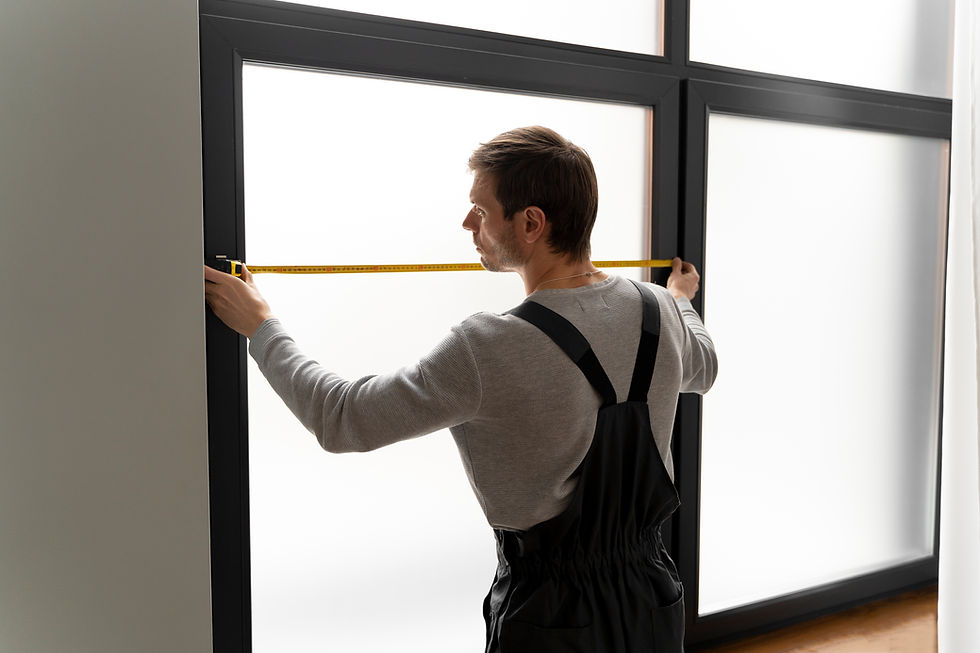
The window frame should sit straight and level in the opening. Use a small level tool if you have one, or just look carefully. The frame shouldn't lean to one side or appear crooked. According to the American Architectural Manufacturers Association, proper alignment is crucial for window performance and longevity.
Look for gaps between the window frame and your home's structure. Small gaps are normal and will be filled with insulation and caulk. But you shouldn't see large gaps or spaces where daylight shows through.
Examine the Trim and Caulking
Good installers always add trim around windows to cover rough edges and create a finished look. The trim should be cut cleanly and fit tightly against both the window and your home's siding.
Caulk is the flexible material that seals gaps around windows. Fresh caulk should look smooth and even. It shouldn't have cracks, gaps, or messy smears. The International Association of Certified Home Inspectors recommends checking caulk lines carefully, as this is where many installation problems start.
Look at Paint and Touch-ups
Professional installers clean up after themselves. You shouldn't see scratches on window frames, paint drips on glass, or damage to your home's siding. Any touch-up paint should match your existing colors closely.
Testing Window Operation
Windows need to open, close, and lock properly. Test each window several times to make sure everything works smoothly.
Opening and Closing
Windows should move easily without sticking or requiring lots of force. Double-hung windows should slide up and down smoothly. Casement windows should crank open without binding. If a window is hard to operate, it might not be installed level or the frame could be twisted.
The Window and Door Manufacturers Association states that properly installed windows should operate with minimal effort throughout their entire range of motion.
Check the Locks
All window locks should engage firmly and hold the window securely closed. Locks shouldn't be loose or wobbly. Test them several times to make sure they work consistently.
Test Weather Stripping
Weather stripping is the soft material around window edges that prevents air and water from getting through. It should be intact and make good contact when the window is closed. Gently pull on weather stripping to make sure it's attached properly.
Air Leak Detection
Air leaks are one of the most common problems with poor window installation. The good news is that they're usually easy to find.
\
The Candle Test
On a windy day, light a candle or incense stick and slowly move it around the edges of your closed windows. If the flame flickers or smoke moves sideways, you've found an air leak. Be careful with open flames and never leave them unattended.
Feel for Drafts
On a cold or windy day, hold your hand near window edges. You shouldn't feel cold air coming through when windows are closed. Pay special attention to corners and the bottom of windows where leaks are most common.
Use Tissue Paper
Hold a thin piece of tissue paper near window edges on a breezy day. If the paper moves, there's likely an air leak in that spot.
Water Resistance Checks
Windows must keep rain and snow out of your home. Water problems can cause expensive damage if not caught early.
Look for Water Stains
Check around new windows for any brown or yellow stains on walls, ceilings, or window sills. These could be signs of water getting in during installation or afterwards.
Test During Rain
During the next rainstorm, check your windows from inside your home. Look for any water coming in around the edges or pooling on window sills. According to the Federal Emergency Management Agency, water infiltration is one of the leading causes of building damage.
Inspect Window Wells
If you have basement windows, check the window wells outside. Water should drain away from windows, not pool around them. Window well covers should fit properly and direct water away from the foundation.
Energy Efficiency Indicators
New windows should help your home stay comfortable and reduce energy costs.
Temperature Differences
On a cold day, hold your hand near the glass of your new windows. You should feel some temperature difference, but it shouldn't be extreme. If the glass feels as cold as outdoor temperature, there might be a problem with the window itself or the installation.
Condensation Patterns
A little condensation on the inside of windows during cold weather is normal. But you shouldn't see condensation between glass panes in double or triple-pane windows. This indicates seal failure and means the window isn't working properly.
The Environmental Protection Agency notes that proper window installation should eliminate most temperature transfer and reduce condensation problems.
Professional Installation Standards
Quality window installers follow specific standards to ensure good results.
Proper Flashing
Flashing is metal or plastic material that directs water away from windows. You might not see all of it, but there should be evidence of flashing around the top of windows. This is especially important for windows on upper floors.
Insulation Around Frames
The spaces around window frames should be filled with insulation to prevent air leaks and improve energy efficiency. This insulation is usually covered by trim, but you might see evidence of it in small gaps.
Level and Plumb Installation
Windows should be installed perfectly level (horizontal) and plumb (vertical). Most installation problems stem from frames that aren't properly aligned.
Common Installation Problems to Watch For
Some installation issues are more serious than others. Here are red flags that indicate poor workmanship:
Windows that don't open or close properly
Large gaps around window frames
Missing or poorly applied caulk
Water stains or leaks after rain
Damaged siding or trim around windows
Windows that feel loose or wobbly
Condensation between glass panes
When to Contact Your Installer
Most reputable window companies offer warranties on their installation work. If you find problems during your inspection, contact the installer right away. Take photos of any issues you discover.
Don't wait to report problems. Small issues like air leaks or poor caulking can lead to bigger problems like water damage if left unfixed. The National Association of the Remodeling Industry recommends addressing installation concerns within the first few weeks after completion.
Tools That Help With Inspection
You don't need expensive equipment to check your windows, but a few simple tools can help:
Small level for checking alignment
Flashlight for looking into corners and gaps
Candle or incense for air leak detection
Camera for documenting any problems
Conclusion
Checking your window installation doesn't require special skills or tools. By following this guide, you can spot most common problems and ensure you got quality work. Remember that good window installation should result in windows that operate smoothly, keep weather out, and help make your home more energy efficient.
Take time to inspect your new windows carefully. If you find problems, don't hesitate to contact your installer. Most issues are easier and cheaper to fix when caught early. With proper installation and care, your new windows should provide years of reliable service and energy savings.